Restoring 18 year old oxidised headlights
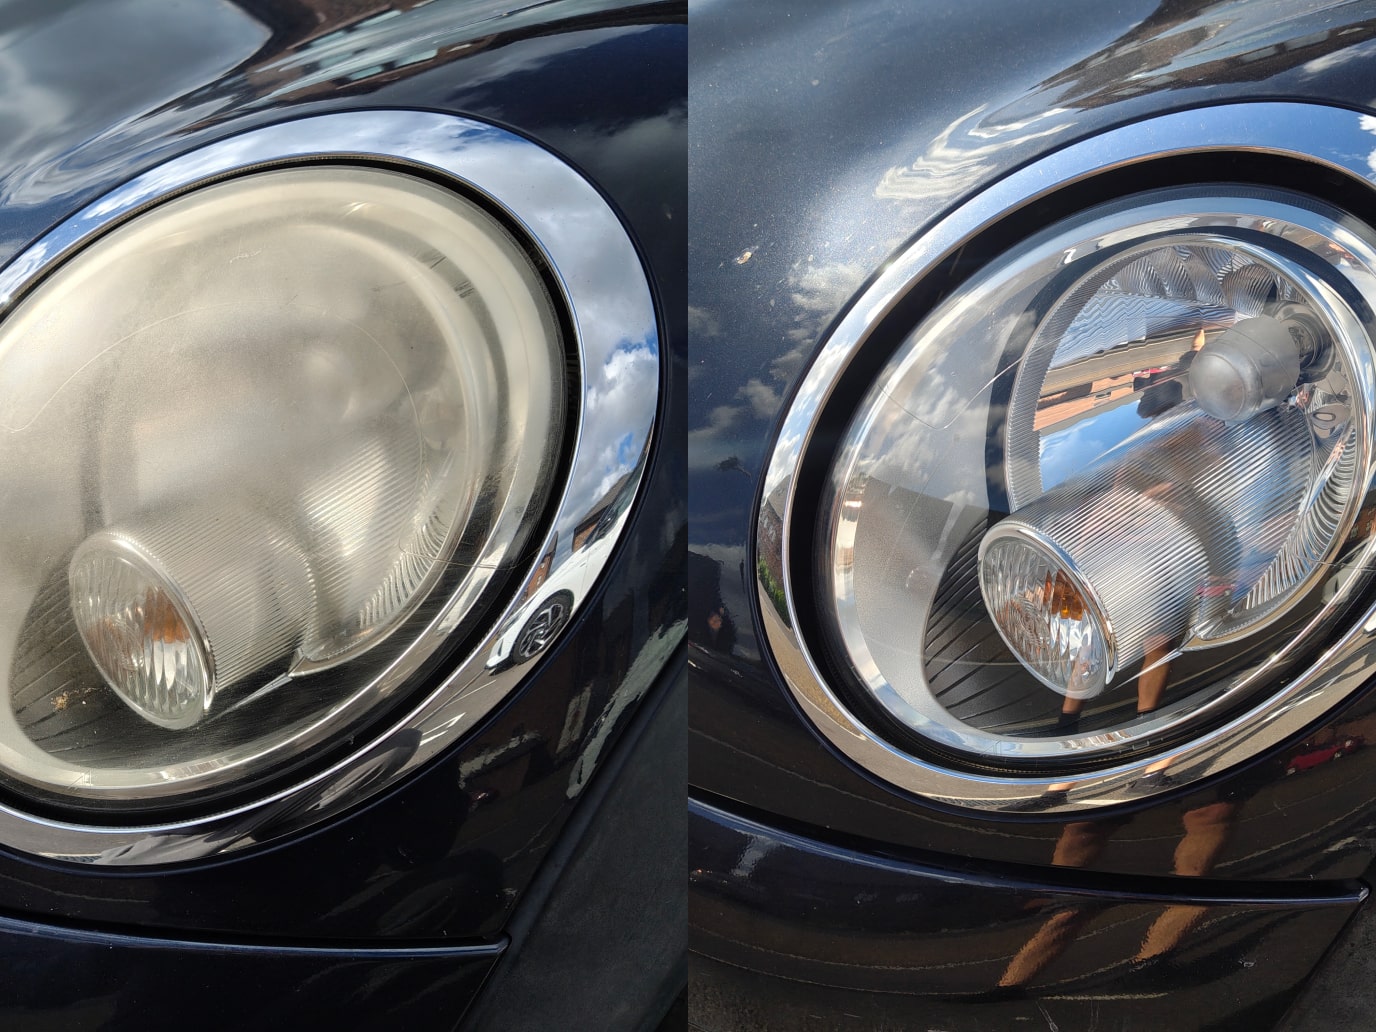
Table of contents
Introduction
The cloudy yellow layer on your headlights forms because UV rays, road dirt, and chemicals wear down the clear protective coating. This allows the plastic underneath to oxidize, making the cloudiness worse over time.
The goal here isn't to remove every tiny flaw, but to eliminate the oxidation so the headlights look clear and fresh from about a meter away.
Equipment
- 1200 grit sandpaper
- 1500 grit sandpaper
- 2500 grit sandpaper
- Ceramic coating spray
- Isopropyl alcohol (IPA)
- Large microfiber towel
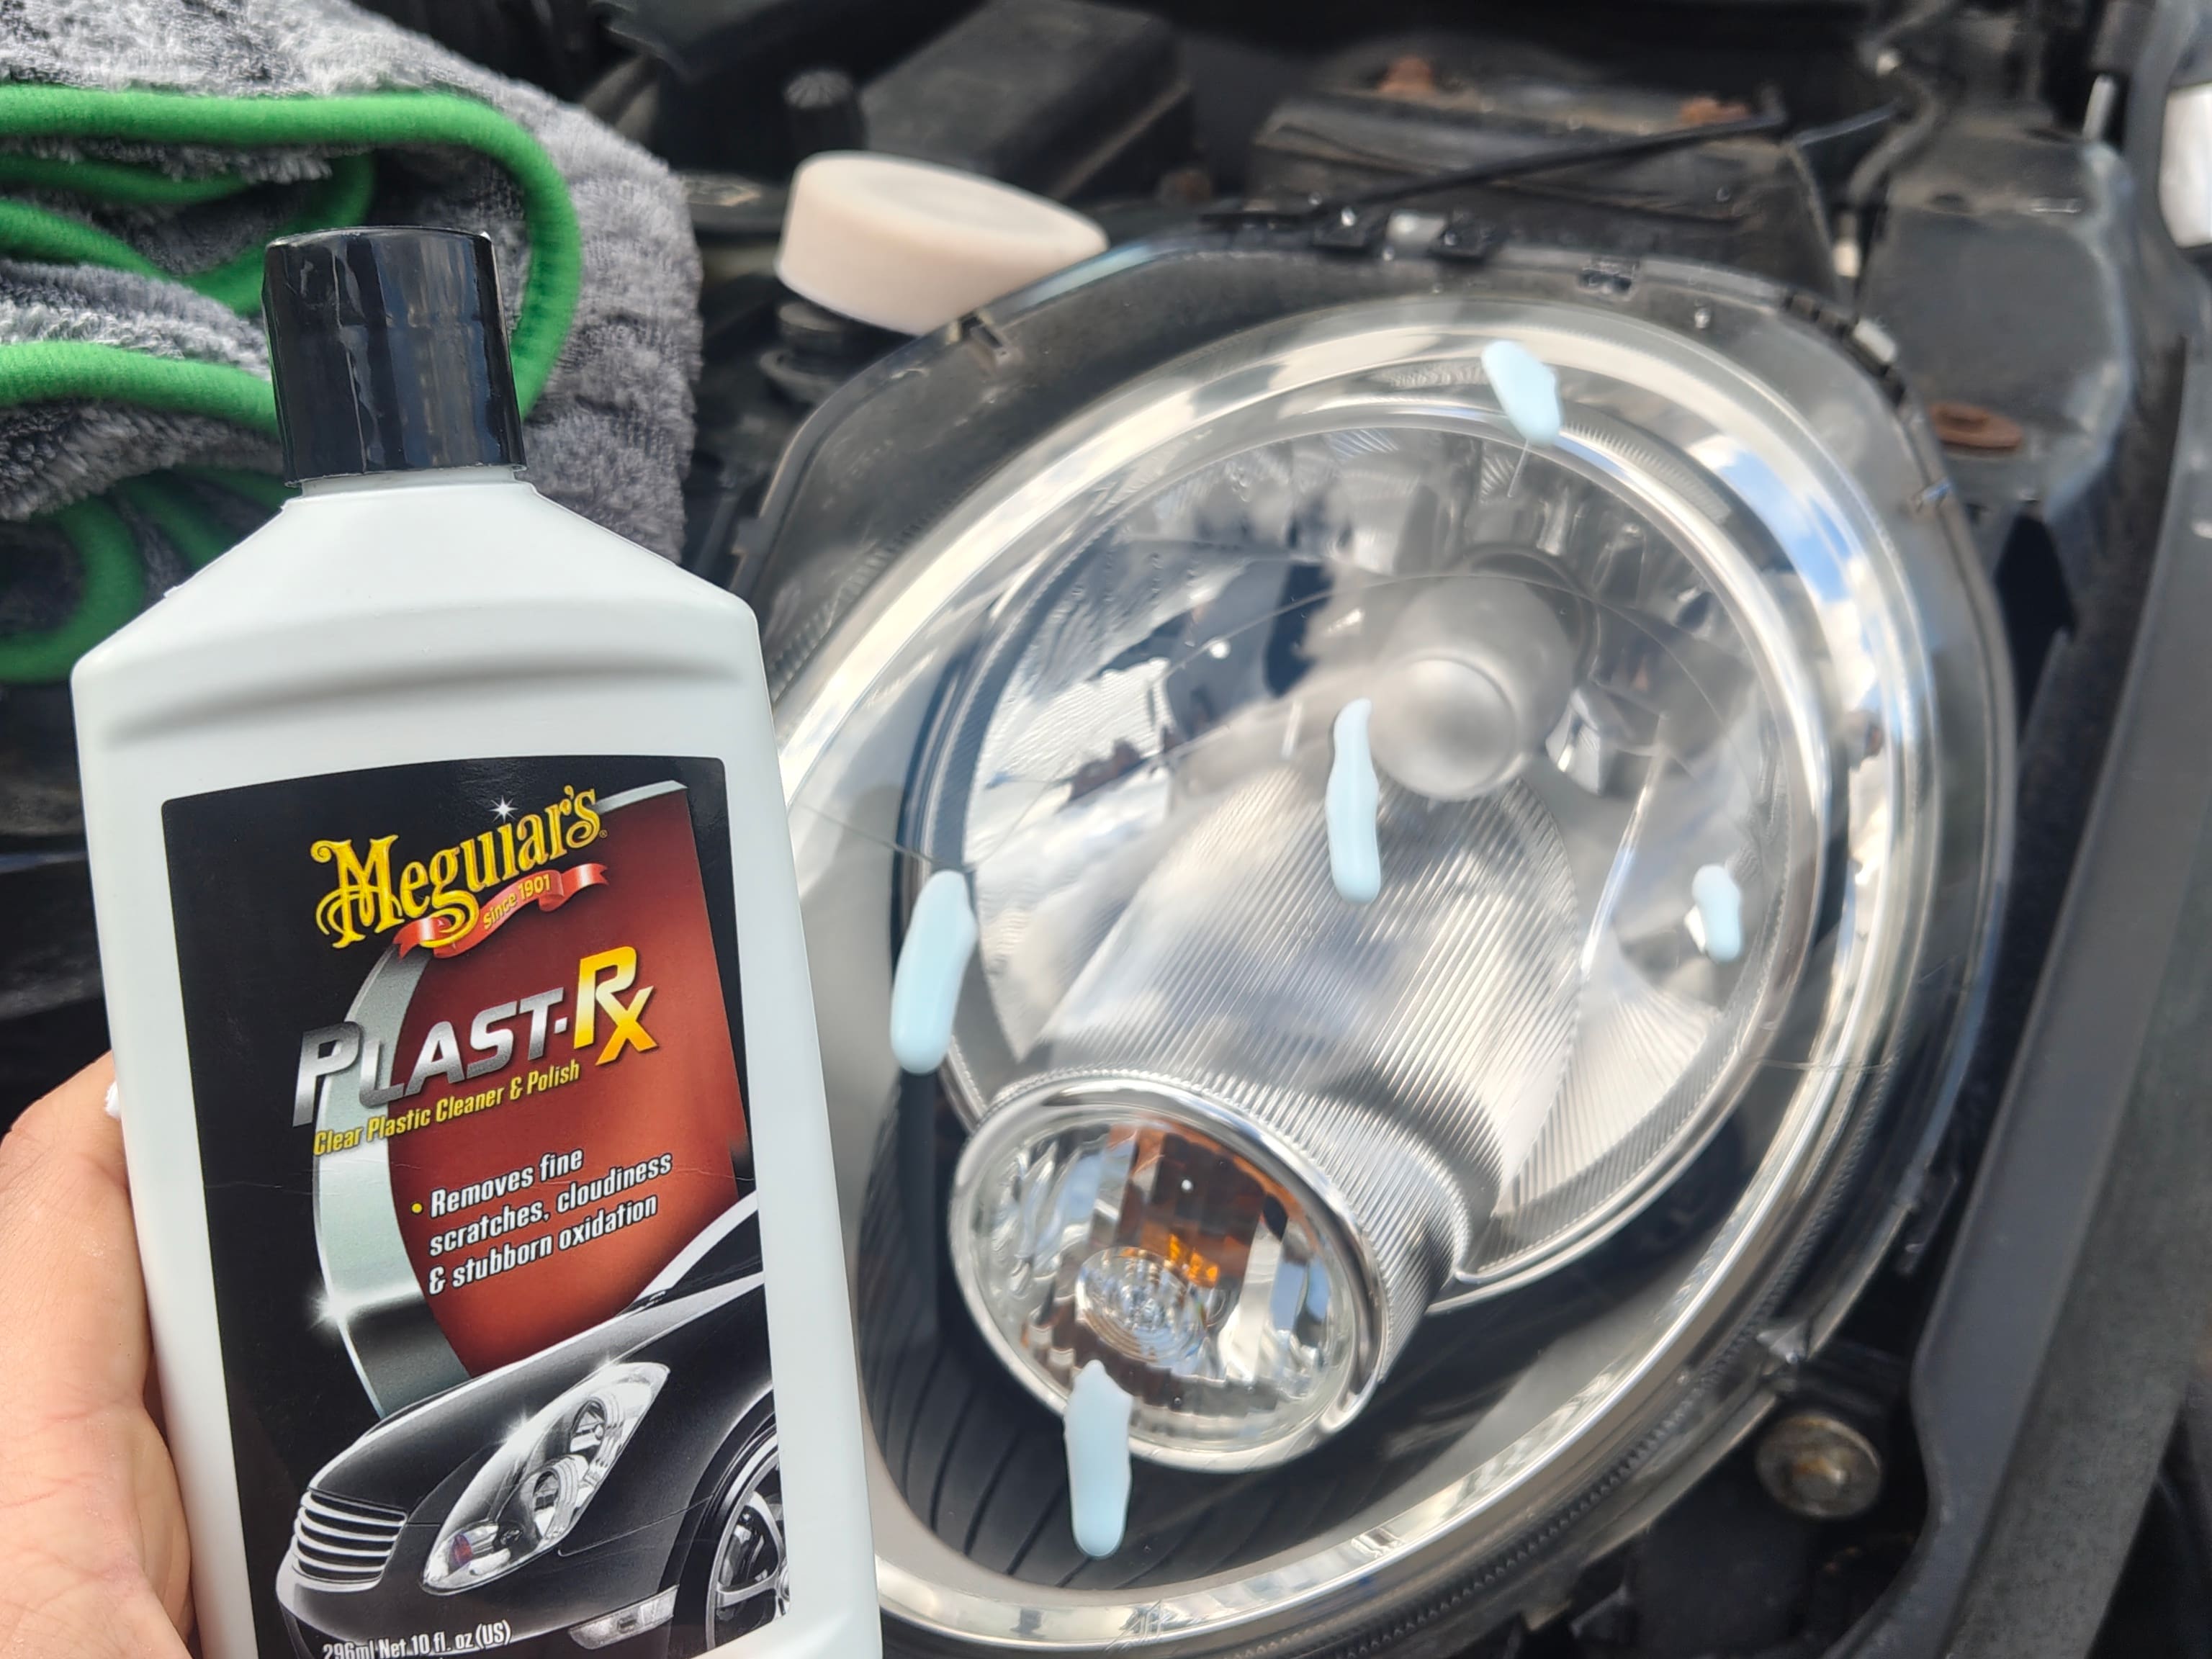
- Low to medium-cut plastic compound
- Medium cut foam pad
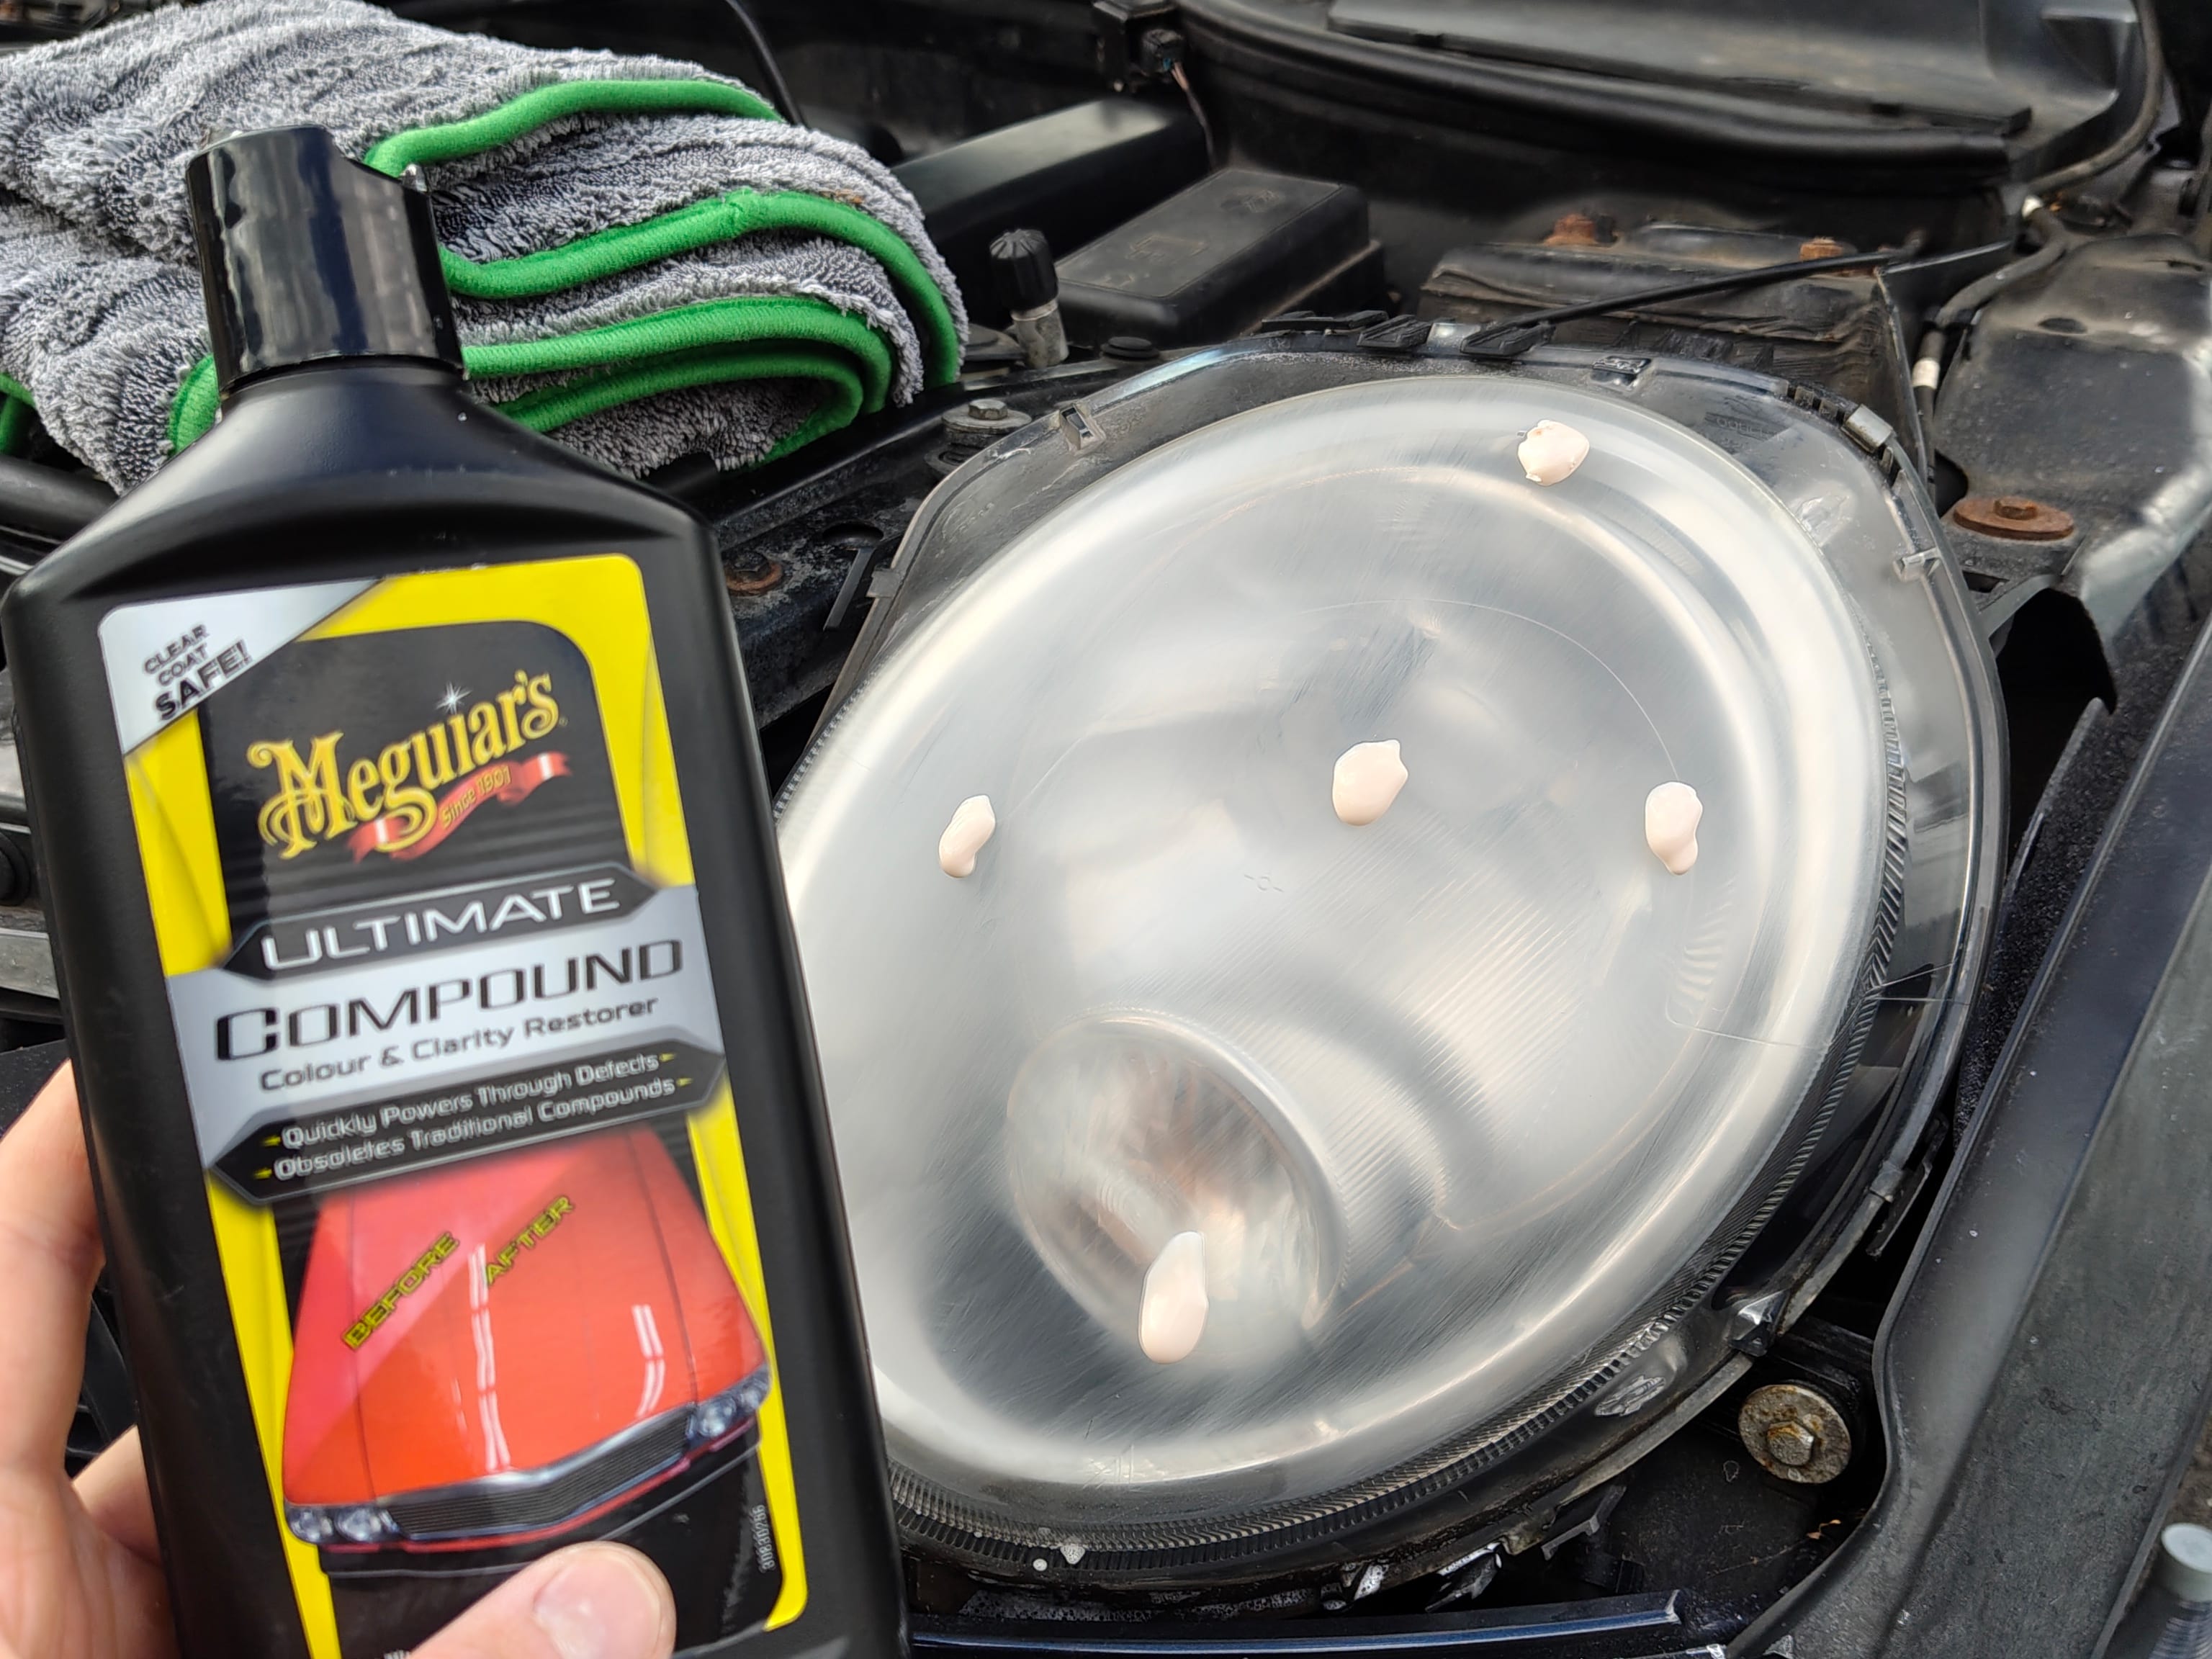
- Medium to high-cut compound
- Polisher
- Sanding block
- Small microfiber towel
- Soft cut foam pad
- Spray bottle
- Washing up liquid
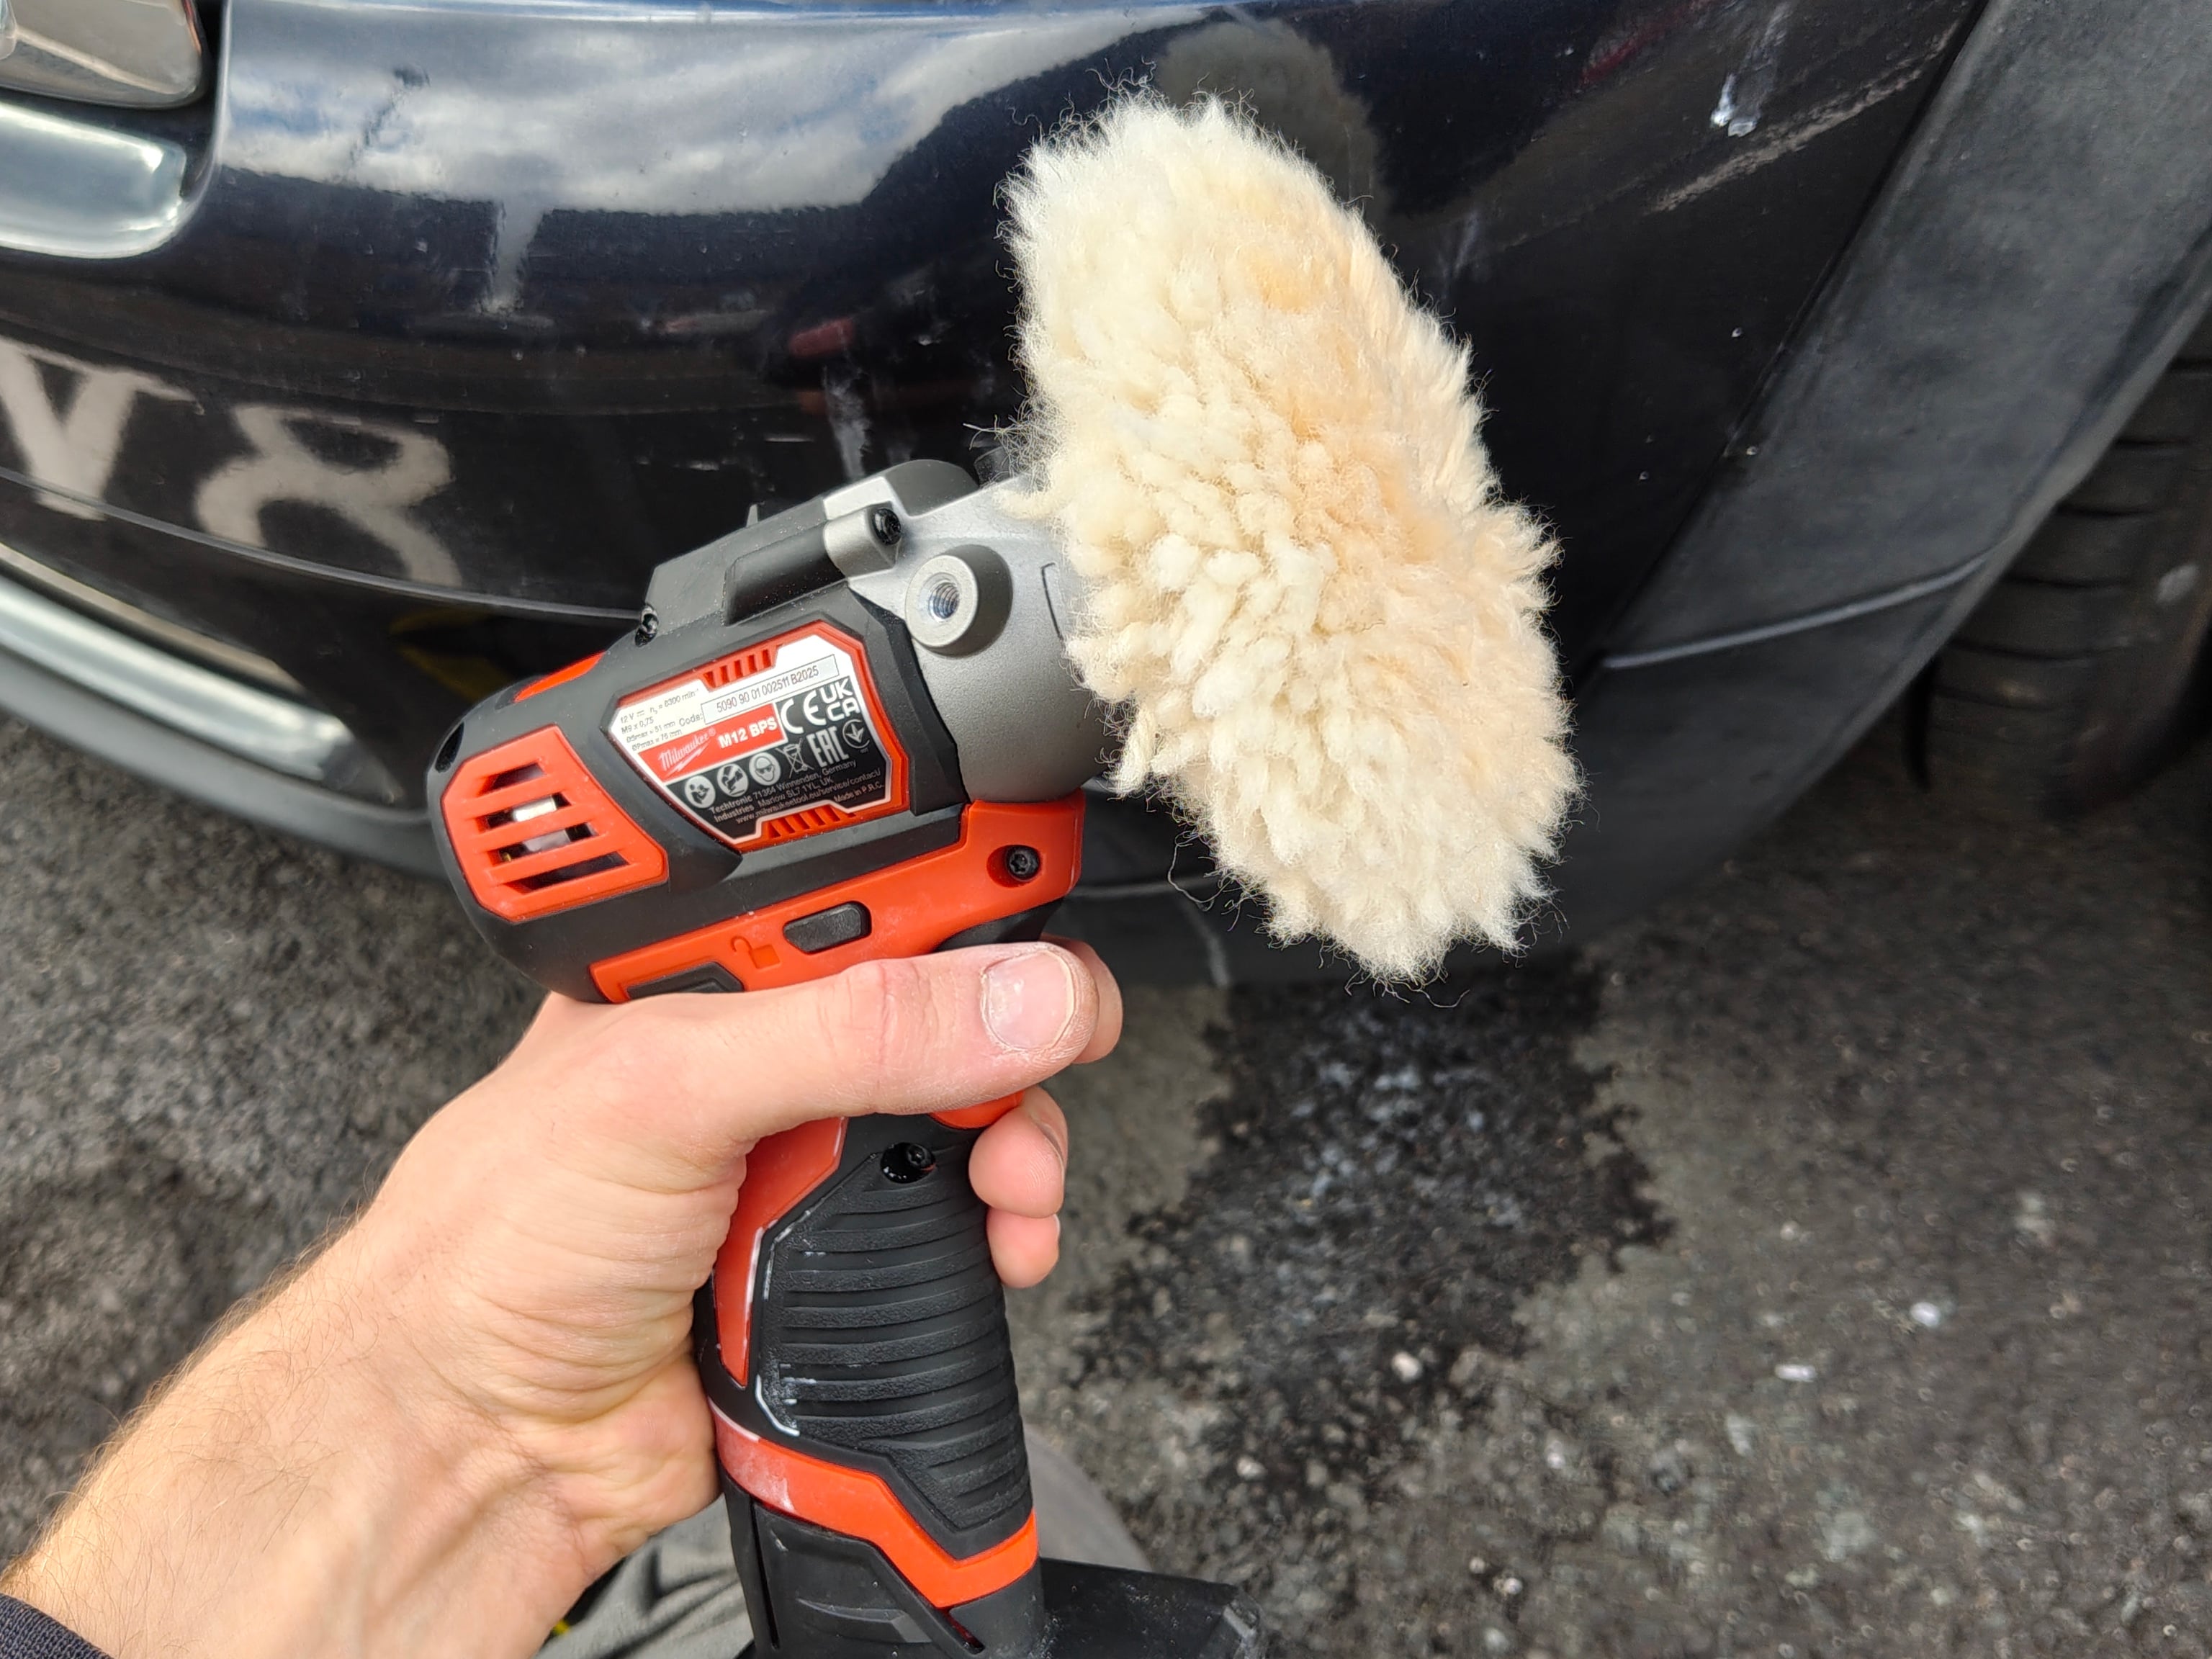
- Wool pad
Preperation
-
First, fold the large microfiber towel twice to create 8 clean square sides you can use throughout the restoration process. I'll refer to each side using a fraction — for example, 4/8 means the fourth clean square side of the towel.
-
Fold the small micrfibre towel three times and set aside.
-
Fill the spray bottle with warm water and squeeze in a drop of washing up liquid and shake slightly to mix.
-
Cut two 20cm x 10cm rectangles from the 1200 grit sandpaper.
-
Repeat step 4 for both the 1500 and 2500 grit sandpaper.
-
Attach the hook-and-loop backing pad to the polisher.
Cleaning
-
First, fold the large microfiber towel twice to create 8 clean square sides you can use throughout the restoration process. I'll refer to each side using a fraction — for example, 4/8 means the fourth clean square side of the towel.
-
Dust off any large grit using a clean side of the microfiber towel (1/8), then shake out the towel to remove any embedded debris.
-
Next, spray the headlights with soapy water. Wait a few seconds, then gently wipe using a fresh side of the microfiber towel (2/8). This should remove most of the surface-level dirt and grime.
Wet sanding
-
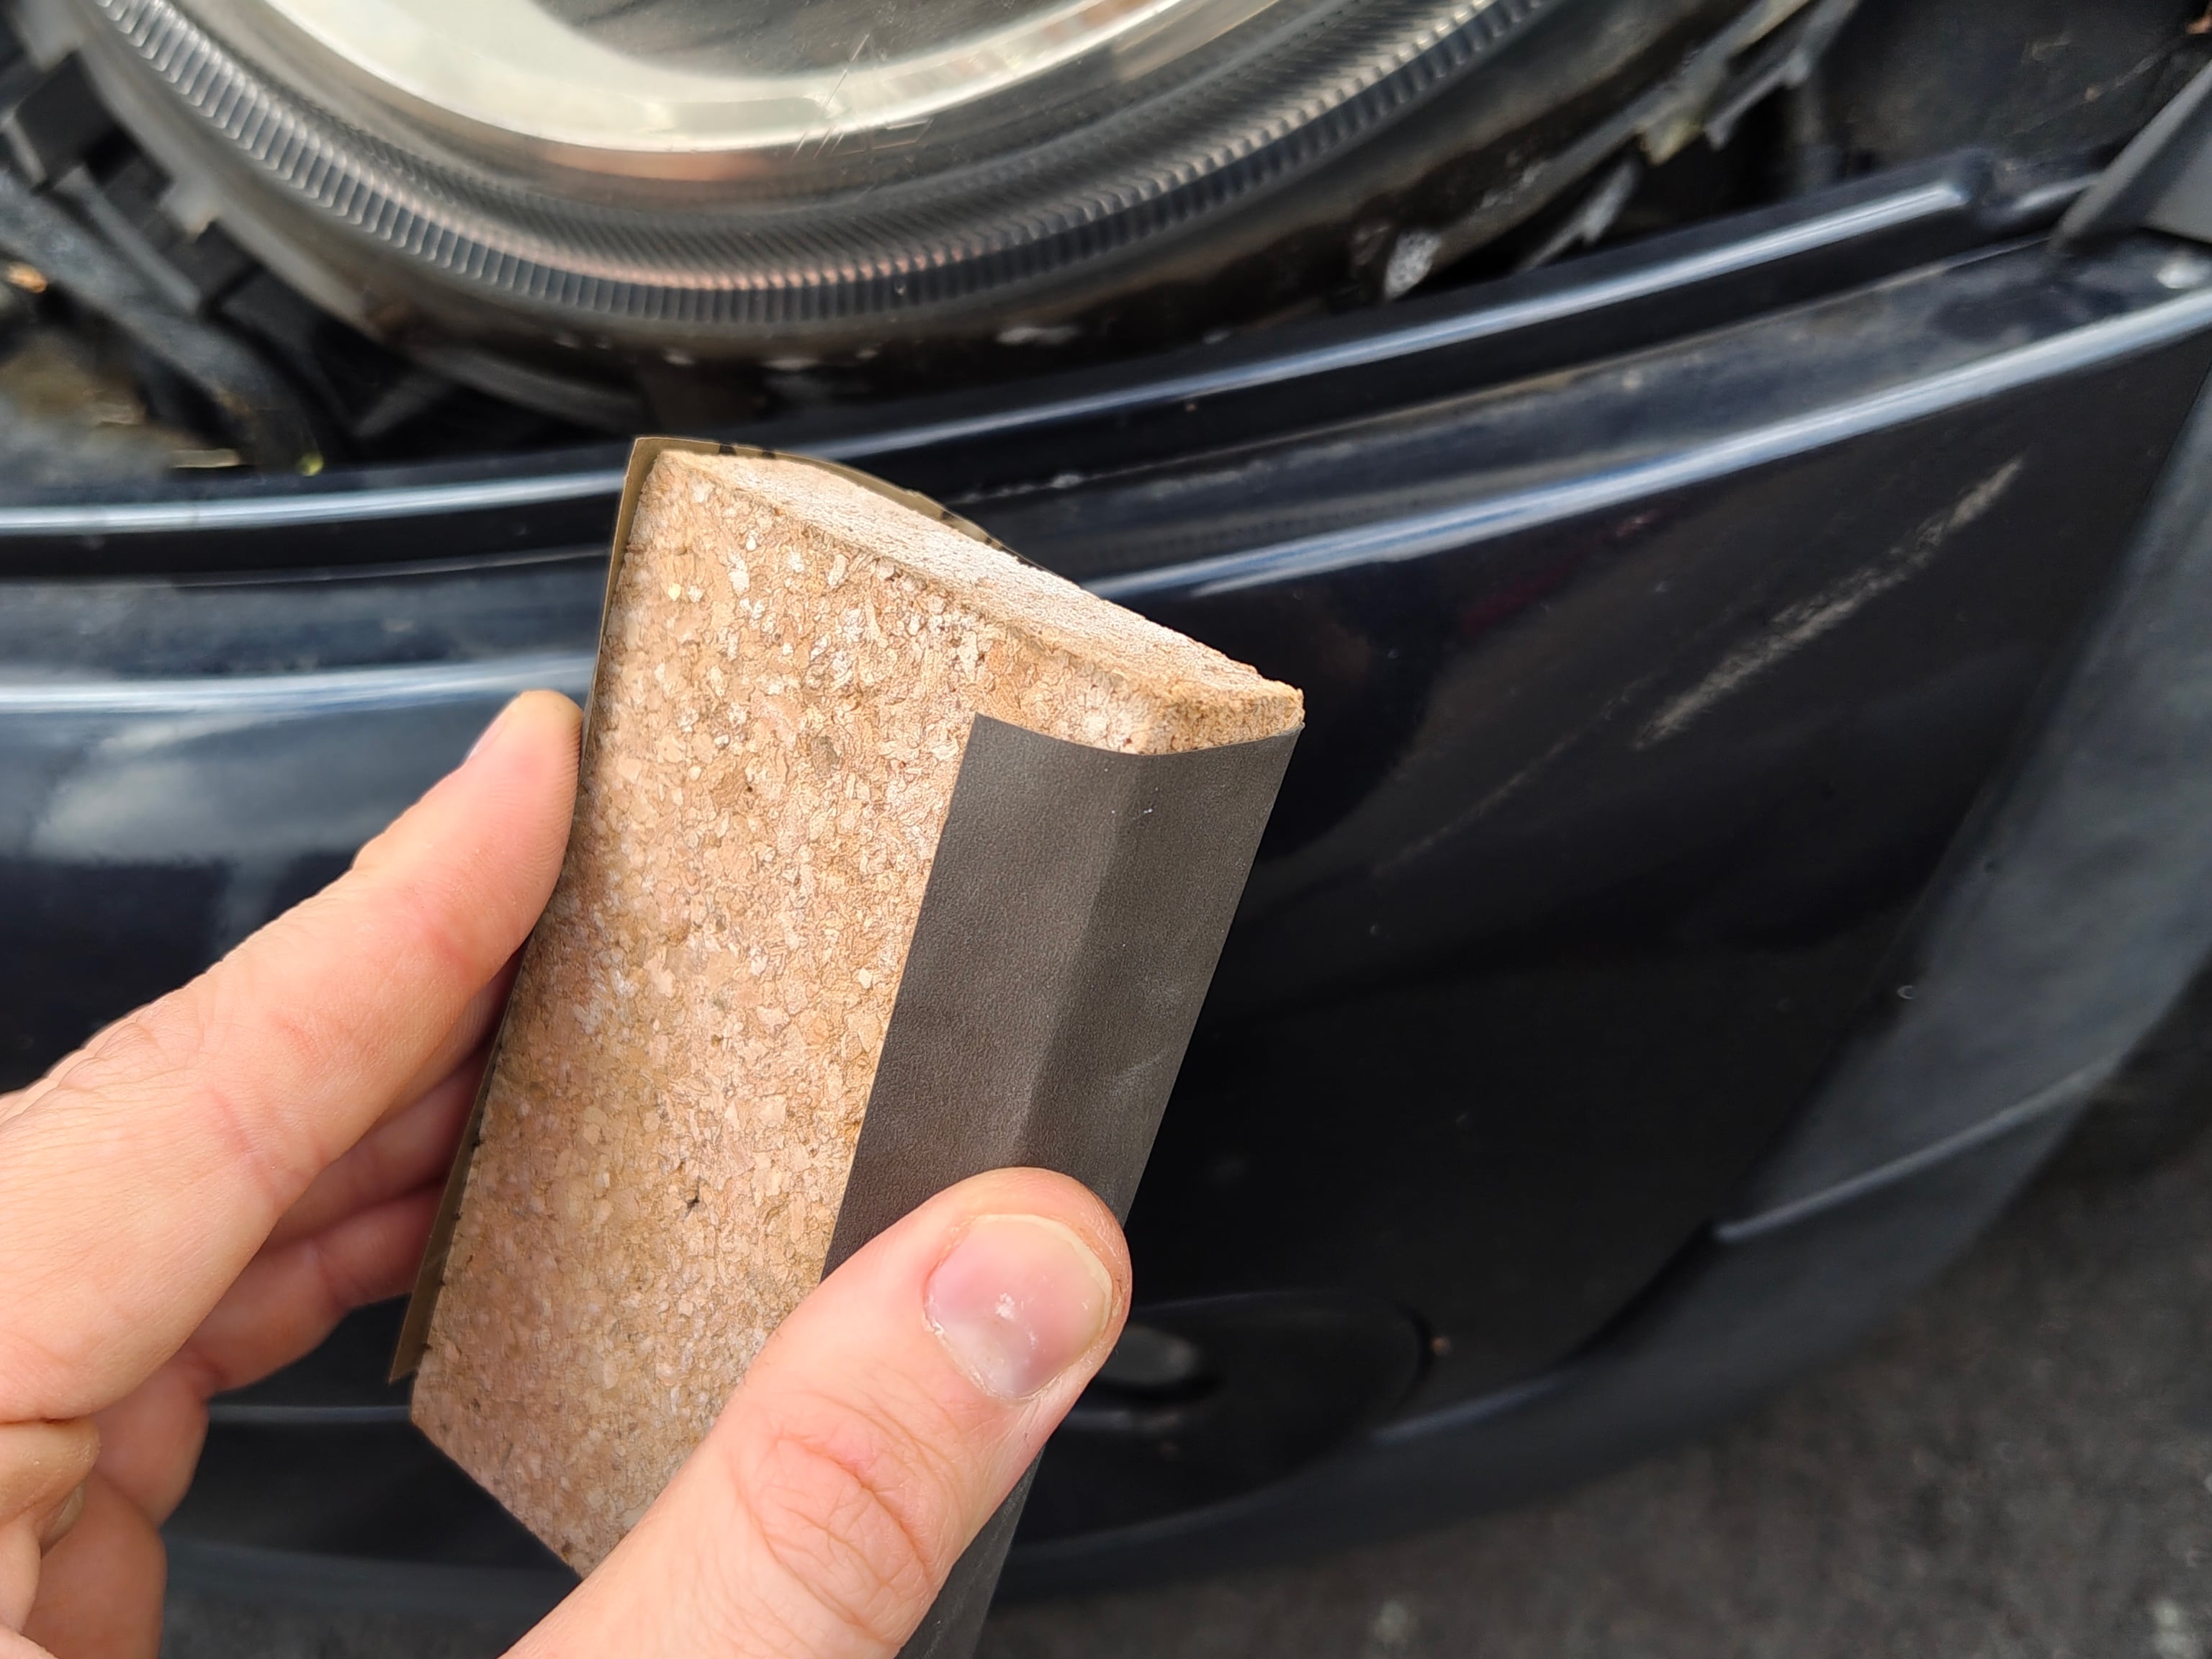
Wrap the 1200-grit sandpaper around a sanding block.
-
Saturate both the lens and the sandpaper with soapy water. This helps reduce dust and ensures a smoother finish.
-
Sand in short, vertical strokes, moving back and forth until the entire lens is covered. Reapply soapy water frequently to keep both the lens and the sandpaper wet at all times — they should never go dry.
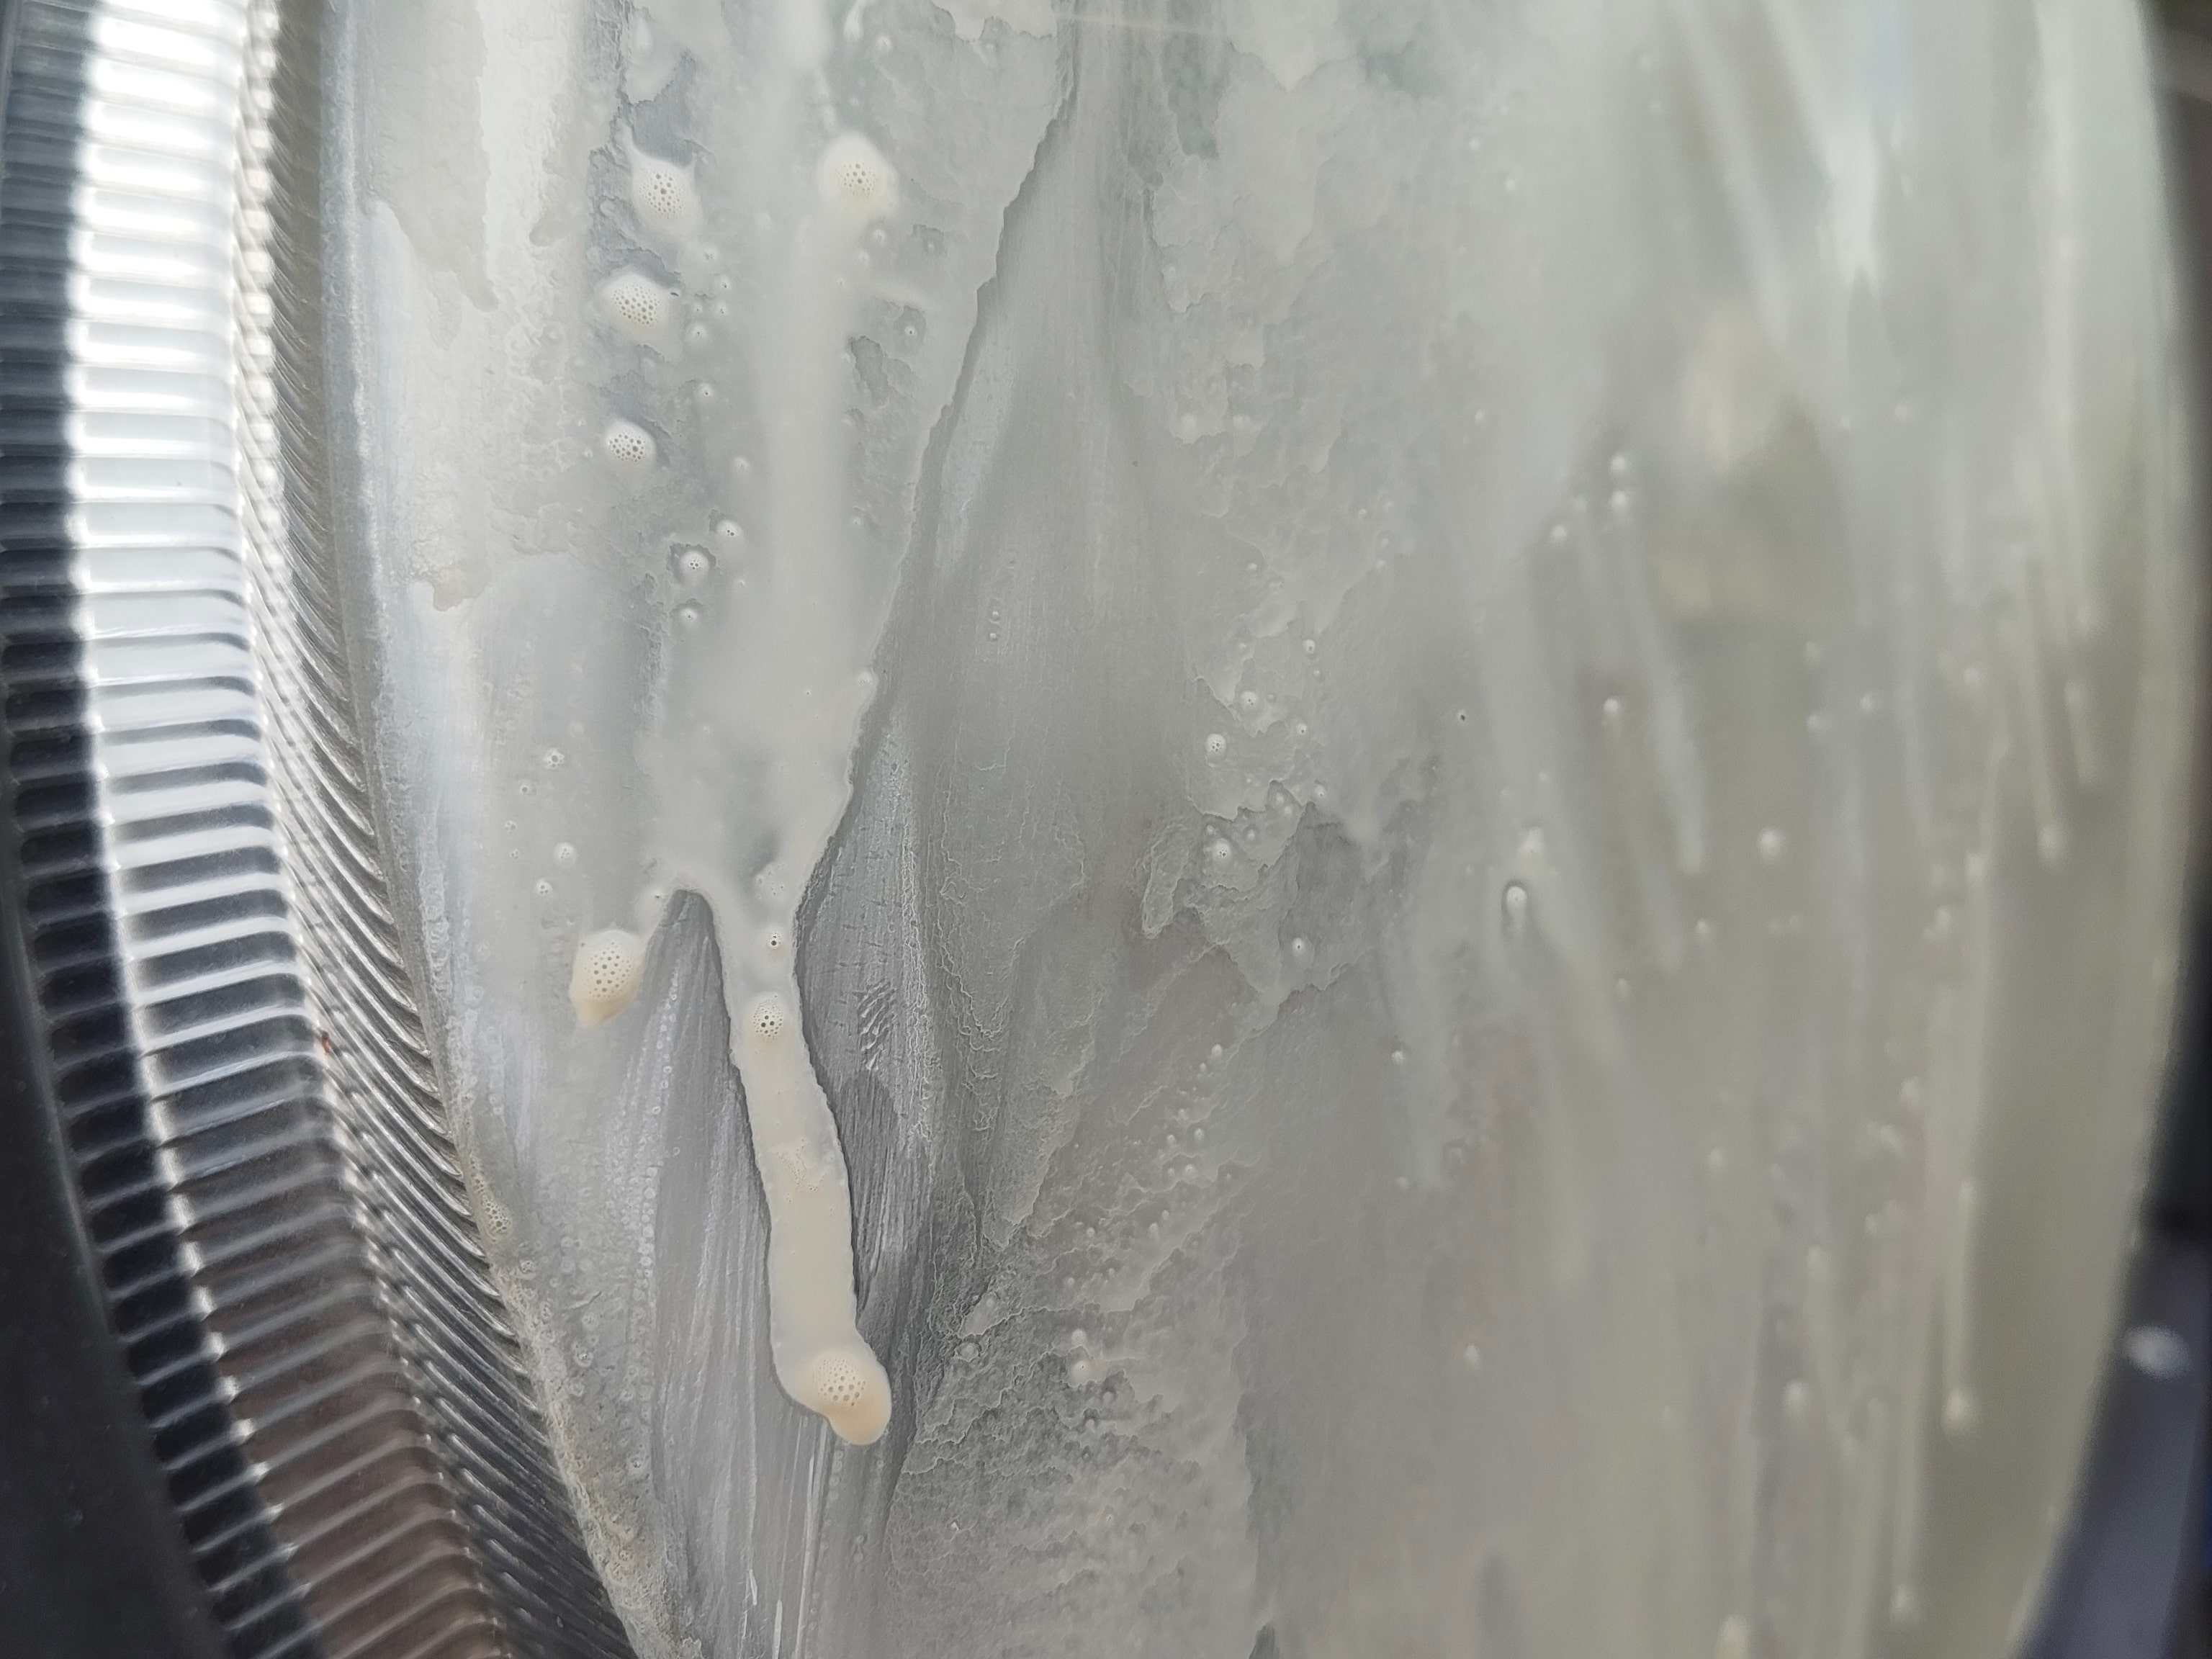
As you sand with the 1200-grit, you may notice a milky yellow liquid coming off the lens — that's the oxidized layer being removed. It will eventually turn white, indicating that most of the oxidation is gone.
-
Wipe down the lens using a fresh side of the large microfiber towel (3/8).
-
Repeat steps 2-4.
-
Discard the 1200-grit sandpaper and repeat steps 1-5 using 1500-grit sandpaper, this time sanding horizontally.
-
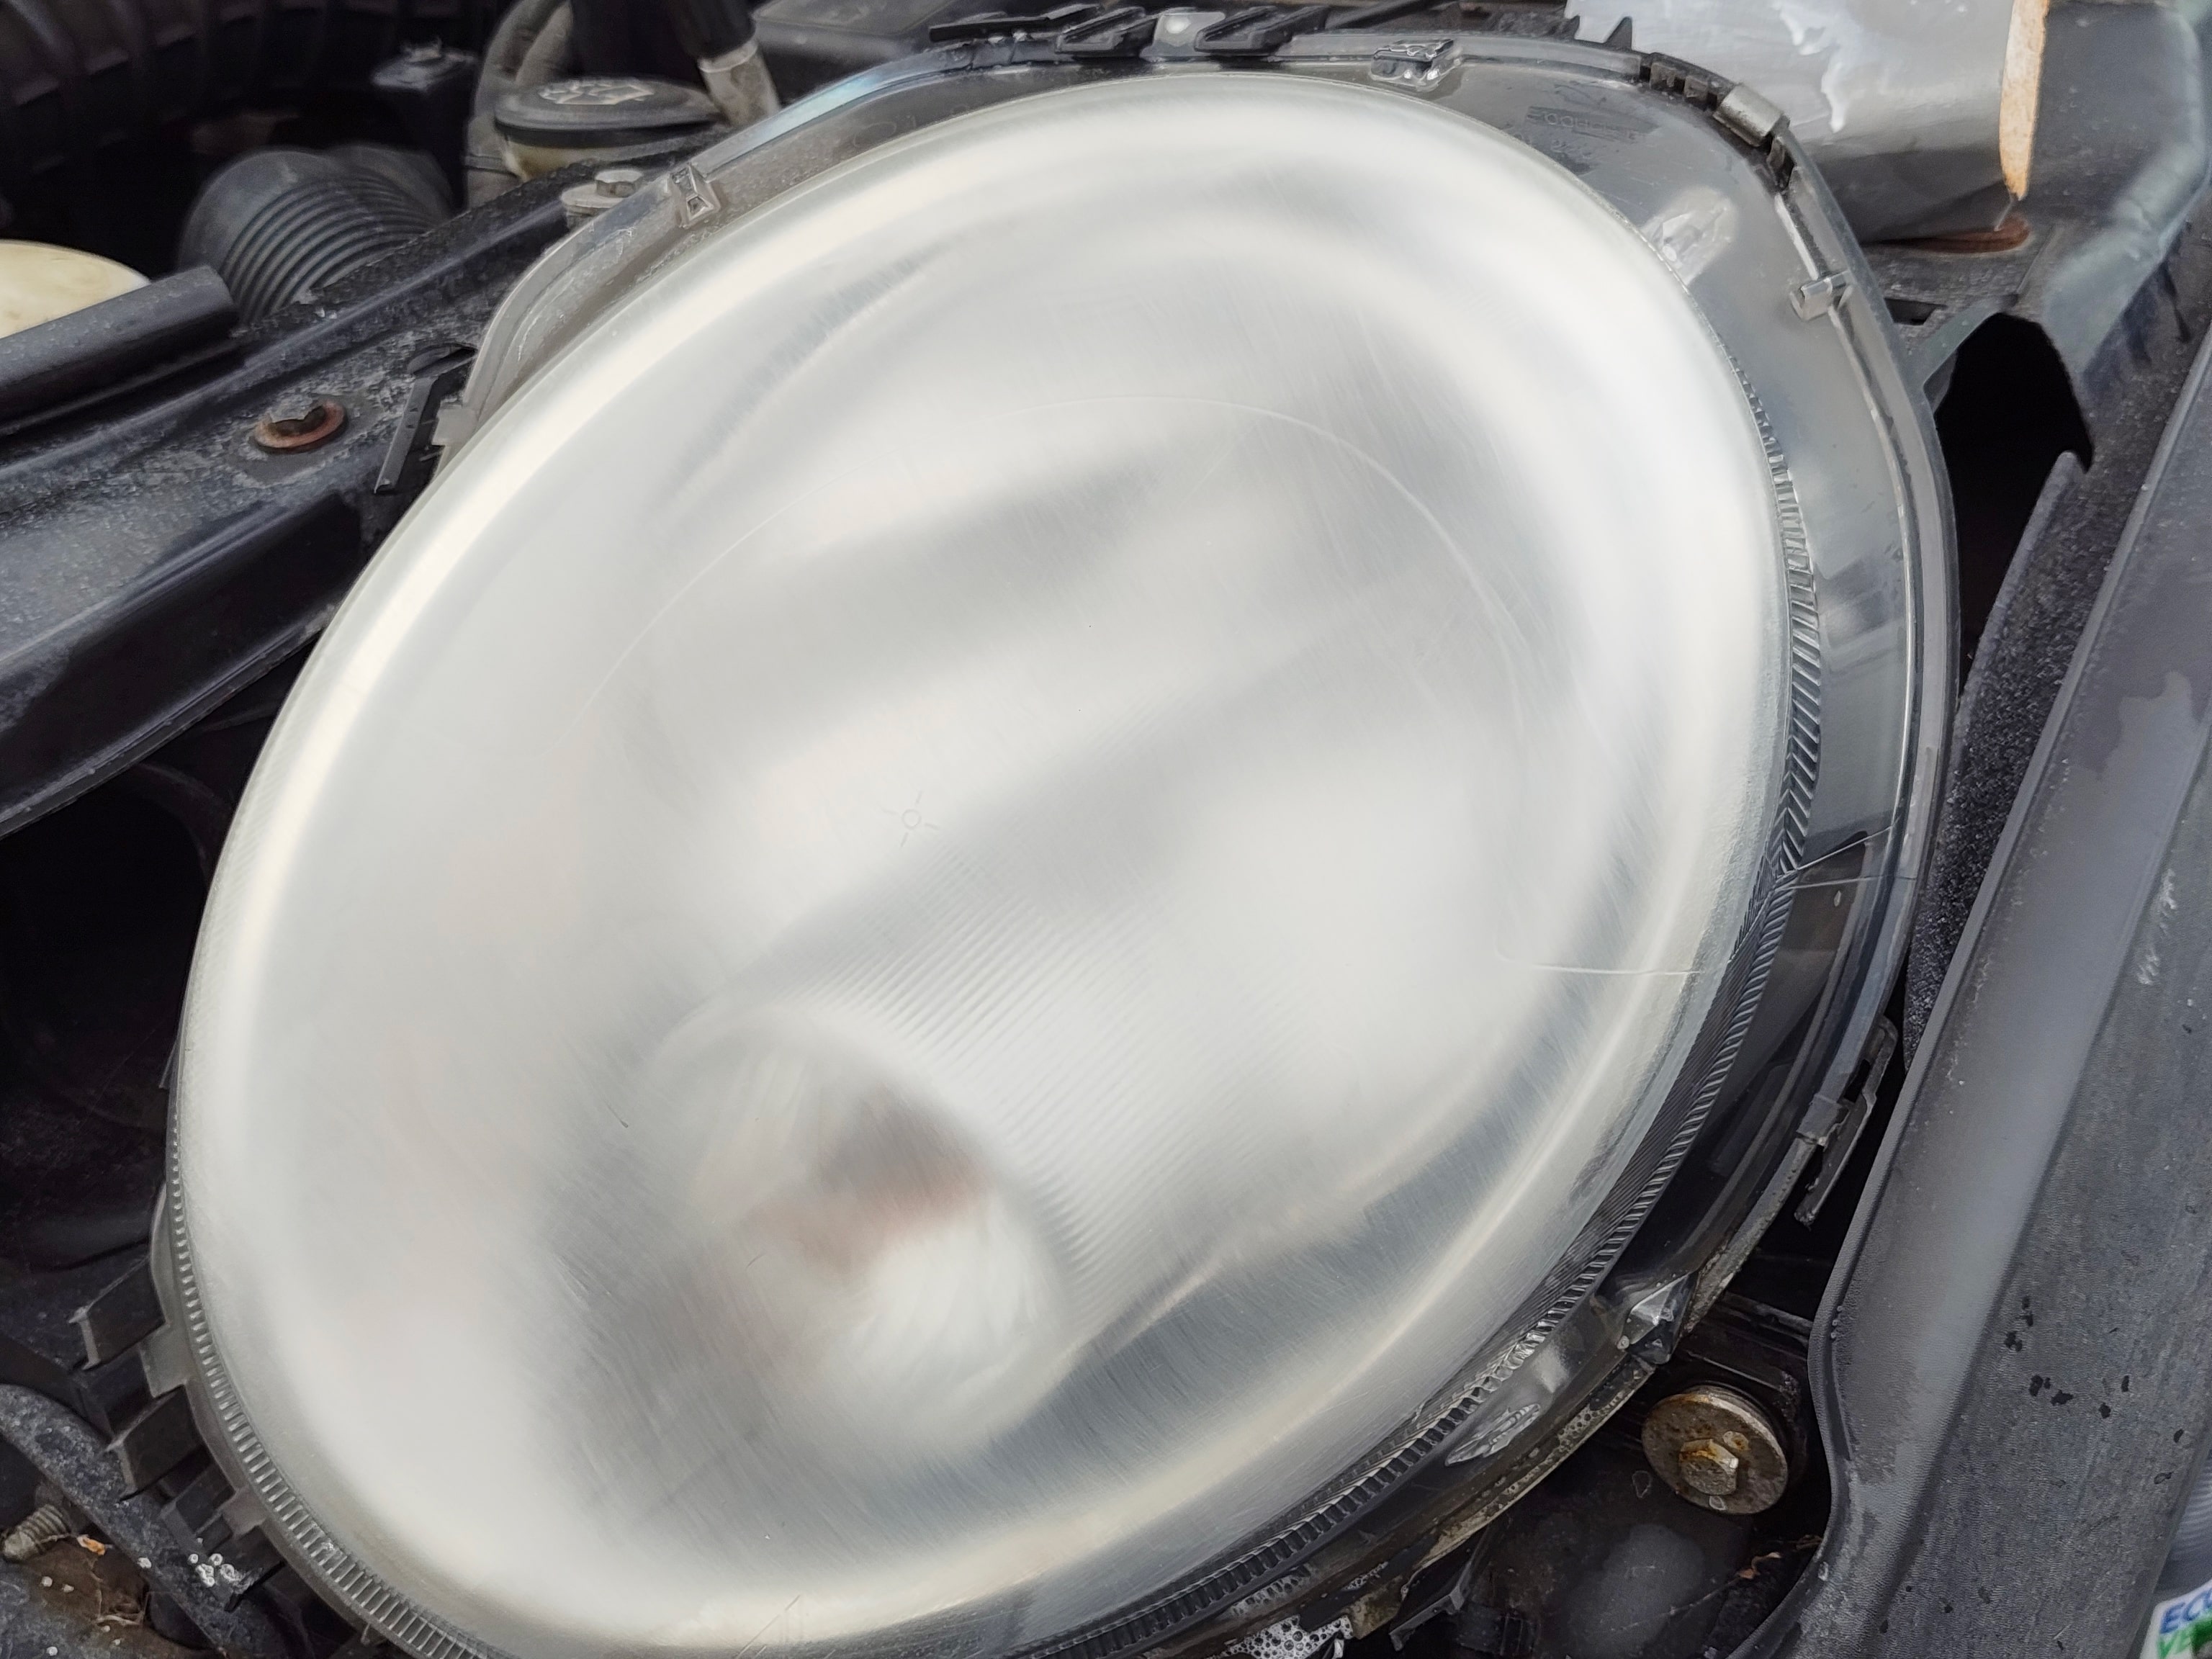
Discard the 1500-grit sandpaper and repeat steps 1-5 again with 2500-grit sandpaper, returning to vertical sanding.
When finished, the lens should have a smooth, even haze — ready for polishing.
Polishing
There are quite a few "repeat" steps at this stage, but if you follow each one patiently, it should be pretty straightforward.
-
Spray some IPA (Isopropyl Alcohol) onto a fresh side of the large microfiber towel (5/8) and firmly wipe down the lens. The IPA will evaporate quickly, leaving the lens clean and bone dry.
-
Stick the wool pad onto the backing, ensuring it is centered to avoid wobbling.
-
Apply 3-4 pea-sized dots of medium to high-cut compound directly onto the lens. Use the wool pad to spread it evenly, either by dabbing around or spinning slowly.
-
Polish with moderate pressure, moving vertically and overlapping each pass by about 50% until the entire lens is covered. Be sure to steady the polisher with the handle. (I couldn't do this in the video below since I was filming with the other hand.)
Wool pads run cooler since they absorb heat, so take your time when polishing, but never stop moving the polisher.
-
Repeat step 1.
-
Repeat steps 3-5.
-
Repeat steps 3-5 twice, but this time polish horizontally.
-
Now, switch from the wool pad to the medium-cut pad.
-
Apply 3-4 pea-sized dots of low to medium-cut plastic compound directly onto the lens. Use the pad to spread it evenly, either by dabbing around or spinning slowly.
-
Polish with light pressure, moving vertically and overlapping each pass by about 50% until the entire lens is covered.
-
Repeat step 1.
-
Repeat steps 9-11.
-
Now, switch from the medium-cut pad to the soft-cut pad.
-
Repeat steps 9-12 twice, but this time polish horizontally.
In total, that should be 8 passes: 4 with the wool pad, 2 with the medium pad, and 2 with the soft pad. It may seem a bit excessive, but after restoring two sets of headlights using this guide, it removed at least 90% of the sanding marks, leaving a clean, clear finish that looks great from about a meter away.
Finishing
-
Spray some IPA (Isopropyl Alcohol) onto a fresh side of the large microfiber towel (6/8) and firmly wipe down the lens. This will evaporate quickly and leave the lens clean and bone dry.
-
Spray the ceramic coating three times onto one side of the small microfiber towel, then wipe it evenly across the lens, overlapping each pass.
-
Wait a few seconds, then flip the towel to the dry side and gently buff off any residue. And yes — now's a good time to hope it doesn't rain for at least 4 hours!
-
For longer-lasting protection (up to 3 months), wait 24 hours, dry the lens and repeat steps 2 and 3.
-
Repeat stages Cleaning-Finishing for the other headlight.
Conclusion
Congratulations! 🎉
If you've made it this far, your headlights should look as good as new, giving you a few years (or more) of clear, bright light. Restoring your headlights takes time, but the payoff is worth it: better night vision, a cleaner look, and safer driving. Doing the finishing steps every three months will keep them looking fresh for years.
If your headlights were badly oxidized and neglected, you might see some crazing — tiny spiderweb cracks on the lens after polishing. It won't affect light output and is barely noticeable during the day. At night, it might show up more, but as long as there's no crumbling or condensation, your headlights still have plenty of life left. It's just a cosmetic issue, so don't worry — embrace the character!
Case studies
2007 Mini Cooper S
Completed on August 4, 2025
Headlights are still looking great, and the light beams out of them perfectly.
2009 Mini Cooper One
Completed on July 3, 2025
Exception: Cerakote UV sealant was used instead of the spray ceramic coating.
Headlights are still looking great, and the light beams out of them perfectly.